Monday 7 May 2012

TINA ENGINE RE-BUILD

Now I have all the parts I can assemble the crank cases, crank, Piston and Barrel.


All the parts assembled two bearings two oil seals and the .003 shims (home made)


First thing is to put bearings in the freezer for an hour or so.
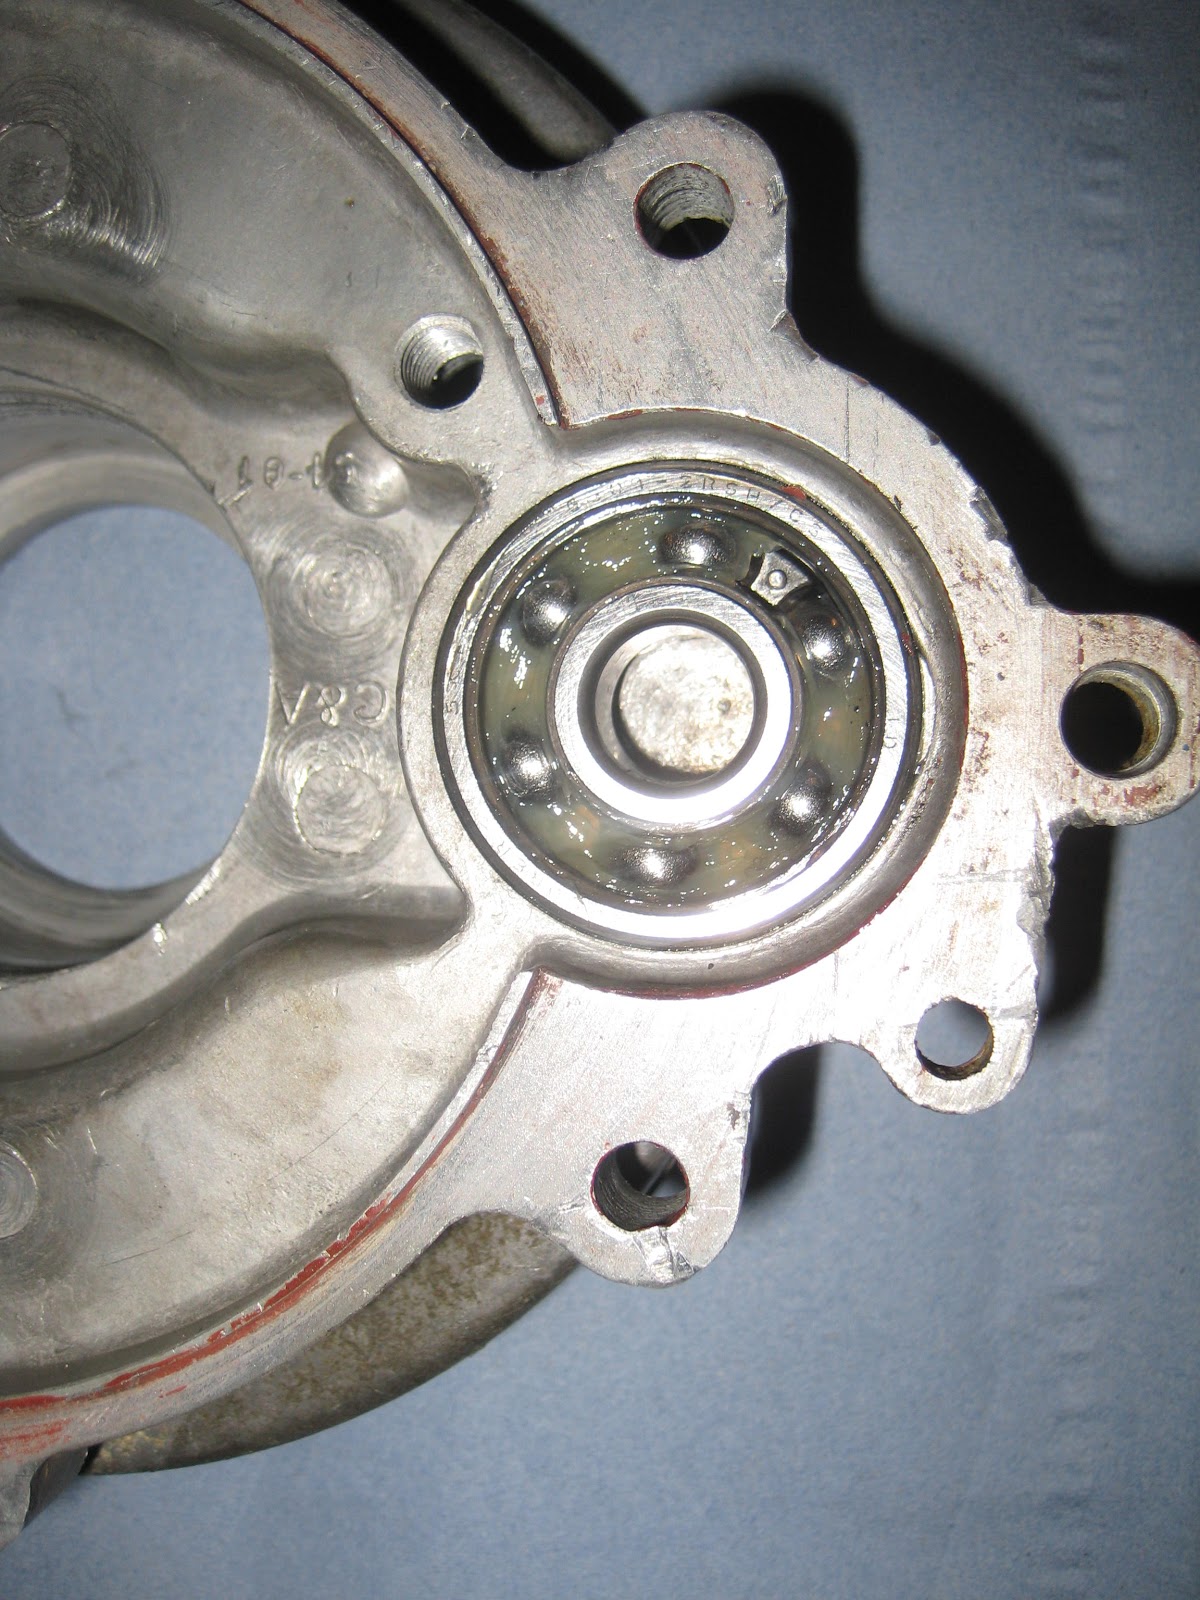
 First seal in on the left hand inside.

 Left hand out side view.
 Second seal on the right hand side inside view.

Out side view.
Both bearings pressed in.


 First half of the crank in not forgetting the shim next to the crank.
 Blue seal both mating surfaces.
Press together and use a few long bolts to hold until the unit is bolted in the engine frame.


Barrel looks good after the re-bore.


Next fit the piston to the small end.
 Whilst pushing the gudgeon pin into the piston it was OK but when it came to go through the small end it was very tight. I made a schoolboy error by placing in the vice and applying pressure slowly pushing the pin through but not looking at the contact between the vice jaws and the piston. the rubber guard I had in place had moved. I heard a click and ................ broke the top ring.


So now I have to find a set of rings before fitting the barrel and head.


Sunday 6 May 2012

Reduction gear rebuild


All the new parts have arrived so time to reassemble the reduction gear box.


First put the bearings in the freezer. This along with warming up the cases will make fitting easier.


First bearing in with the help of the vice.


Second bearing was a bit harder to fit but with a bit of heat and the use of a hydraulic jack it went in fine.
 In with the cover and then the threaded retainer.


Stub Axle Oil seal in the place.


Rear stub axle in.


??? cog fitted Lock washer


On with the center nut and bend up lock-tabs.


 28mm nut (yes I know its imperial but this socket fits nice)


Now for the oil seal


 Oil seal pressed in to the ???

Wind down the ??? until it it seats on to the bearing. It also has to line up for the cir clip.


Cir clip in place at 3 oclock.


Blue Seal both half's.


Start to compress the two together. They were so hard to separate and now hard to press back together.


I had to use four temporary bolts to apply gradual pressure whilst tapping with a leather hammer.


Fit a new fibre washer to the drain plug and top up with 50mls of .


Fit the static break shoe pivot and the lock-washer.


All done.